8.5 Images and backgrounds
You can include either static or dynamic images as part of a card layout. These can be in either JPEG or GIF format.
- If you are using an image as background, it does not have to be the correct size but must be the correct aspect ratio.
- To set a background color for a card, use an image that is a single block of the required color.
- MyID supports printing of 24-bit JPEG images. If you have 32-bit JPEG images – for example, JPEG images using the YCCK color transform – you must save them as standard 24-bit JPEG images before adding them to a card layout.
The following toolbar buttons and options are described in this section:
 Insert picture – inserts a static image.
 Insert user image – inserts an image from the cardholder’s record.
 Upload image – static images must be uploaded to the web server before they are available for selection.
 Fit image to card – resizes the selected image to fit the height or width of the card
![]() Image Source – choose which user image to use from the cardholder’s record.
Image Source – choose which user image to use from the cardholder’s record.
 or
or  Maintain Aspect Ratio – choose whether the aspect ratio of the image is retained when the card layout is printed.
8.5.1 Uploading images to the web server
You can upload images at any time but if you have developed a library of static images to use when specifying card layouts, you can upload them all before the process begins.
Note: Give the images meaningful filenames as they are displayed when you are selecting an image to include on your layout.
- Start the Card Layout Editor workflow.
- Click the Upload image button.
- Click Browse to locate the file you want to upload.
-
Select the file and click Open.
A message is displayed stating that the file has been uploaded.
8.5.2 Specifying a background
To specify a background image:
- Click Insert picture.
- Double-click the image you want to use in the list of images displayed.
- If the image is not in the top left corner of the card outline, move it into position. Place your mouse over the image and the cursor changes to a four-headed arrow. Click and drag the image to the correct position.
-
Resize the image if necessary.
-
If the image is too large for the card outline, click Fit to content.
-
If the image is too small for the card, place your mouse over the small box at the bottom right of the red border to the image and drag down and right to enlarge the image.
-
Hold down the CTRL key and drag the resizing box to change the aspect ratio of the image.
-
- Move your image to the back.
Right-click the image and select Send to back from the menu displayed.
8.5.3 Fitting an image to a card
If you want to expand an image to the full width or height of the card, select the image then click Fit image to card.
Note: Be careful if your organization has placed restrictions on the size of images to be printed on the card.
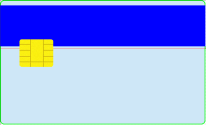
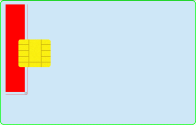
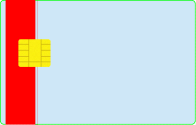
|
Before selecting Fit image to card |
After selecting Fit image to card |
|---|---|
|
|
|
|
|
|
|
|
|


Warning: There is no ‘undo’ facility, so save your work before using Fit image to card or you will have to restore original positions and sizes manually.
8.5.4 Adding static images
To add a static image:
- Click Insert picture.
- Double-click the image you want to use in the list of images displayed.
- Move the image into position by placing your mouse over the image and dragging the image to the correct location.
- Resize the image if necessary. Place your mouse over the small box at the bottom right of the image’s red border and drag the outline to the correct size.
You can hold down the CTRL key and drag the resizing box to change the aspect ratio of the image.
8.5.5 Adding dynamic images
- Click Insert user image.
- Choose the image to be inserted by selecting an option in the Image Source drop-down list. A placeholder image is displayed, which will be replaced with the image specified in the cardholder’s record when the card is printed.
- Move the image into position by placing your mouse over the image and dragging the image to the correct location.
-
Resize the image if necessary. To do this, place your mouse over the small box at the bottom right of the image’s red border and dragging the outline to the correct size.
Note: You cannot change the aspect ratio of a user image. Do not use the Height and Width controls to change the size of the image, as the image will be resized to maintain its aspect ratio when you print or view a print preview.
8.5.6 Custom image fields
To add a custom image field:
- From the Configuration category, select Card Layout Editor.
- On the toolbar, click Insert User Image.
- From the Image Source drop-down list, select Custom.
- In the Content box, type the URL for the image you want to use.
You can use the same field codes in this URL as you can use for custom text fields – see section 8.6.3, Custom text fields for details. Any fields are substituted with the value for the user when the card is printed.
For example, if you have the following URL:
http://myserver/upimages/Banner[[OptionalLine1]].jpg
and the user has Red as the value in their Optional Line 1 field in their user record in MyID, then the image used on the printed card will be:
http://myserver/upimages/BannerRed.jpg
Create a file called Banner[[OptionalLine1]].jpg (with the unsubstituted field name included in the filename) in the upimages folder and this will be displayed in the Card Layout Editor. Create a copy of this file in the upimages/UpimagesEditor folder, as this will be used in the Print Preview dialog.

8.5.7 Externally formatted image fields
For some systems (for example, PIV systems) you may need to have more control of the size and position of some elements that the Card Layout Editor can provide. MyID provides the ability to use externally-formatted images for these elements – the elements are formatted exactly to your requirements and placed on the card design as an image.
To add an externally-formatted image field:
- From the Configuration category, select Card Layout Editor.
- Open the layout you want to work with.
- On the toolbar, click Insert User Image.
- From the Image Source drop-down list, select the name of the external formatter; for example, for a PIV name field, select fips201name.
- Select the element, then select the correct Template and Zone.
8.5.8 Image aspect ratio
To force the image to retain its original aspect ratio regardless of the sizing of a placeholder, make sure the Maintain Aspect Ratio toolbar button (on the right of the top row of buttons) is selected. This makes the image appear in its correct ratio, centered within the placeholder image on the Card Layout Editor screen.
 Maintain Aspect Ratio option is set for an on-screen element
 Maintain Aspect Ratio option is not set
For example, if you have the following images on the card layout:
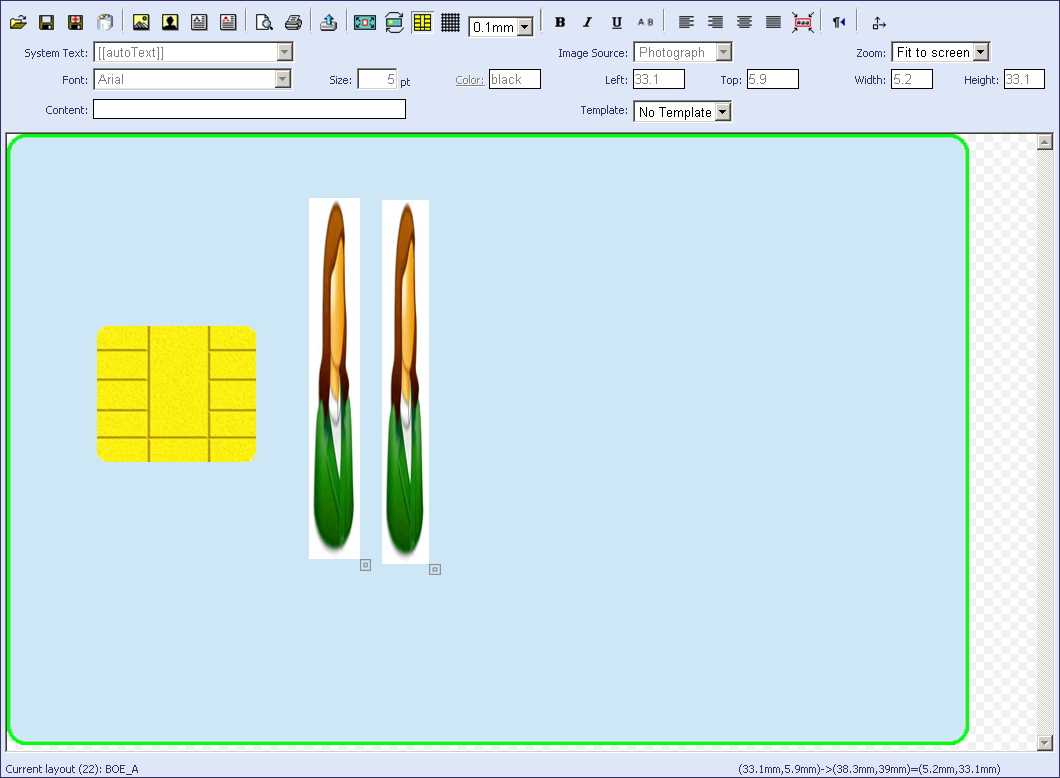
- Select the image on the left, and make sure the Maintain Aspect Ratio toolbar button is selected.
- Select the image on the right, and make sure the Maintain Aspect Ratio toolbar button is not selected.
Click the Print Preview  button, and the images are displayed as they will appear on the printed card:

The image on the left is displayed in its original aspect ratio, centered within the area of the placeholder image on the layout. The image on the left is stretched to fit the placeholder image on the layout.
Note: The default for all new images that you add to card layouts is to maintain the aspect ratio.